Kubernetes Provider with Minikube and VS Code Browser
Purpose
The purpose of this quickstart is to provide a small scale representation of on-premise Kubernetes and guide a new user through the configuration of a Kubernetes provider.
Install Virtualbox
Recommended machine requirements
Based on Virtualbox and Ubuntu Desktop documentation the following are the minimum machine requirement:
| Item | Minimum requirement |
|---|---|
| CPU | dual core CPU |
| RAM | 8GB |
| Storage | 30GB |
| Network Connectivity | access to public internet |
Virtualbox Installer
Download and install Virtualbox on your machine.
Create Ubuntu 22.04 Virtual machine
Download Ubuntu Desktop 22.04 ISO
Download the official ISO for Ubuntu 22.04.
New Ubuntu 22.04 Virtual machine
With Virtualbox running, open the a new Virtual machine dialog. 'machine' > 'new ...'
New Virtual Machine dialog
Step 1 - Virtual Machine Name and Operating System
| Input | Suggested Value |
|---|---|
| Name | ubuntu-desktop-22.04 (name used through this example) |
| Folder | default value is suitable in most cases |
| ISO Image | browse to the path of the downloaded ubuntu 22.04 ISO |
| Skip unnattended installation | true / ticked (this setup sudo group during installation) |
Select 'Next'
Step 2 - Hardware
| Input | Suggested Value |
|---|---|
| Name | ubuntu-desktop-22.04 (name used through this example) |
| Base Memory | 8192 MB (minimum recommended) |
| Processors | 2 CPU (minimum recommended) |
Select 'Next'
Step 3 - Virtual Hard Disk
| Input | Suggested Value |
|---|---|
| Name | ubuntu-desktop-22.04 (name used through this example) |
| Create a new hard disk now | 30 GB (minimum recommended) |
Select 'Next'
Step 4 - Summary
Review the configuration summary and click 'Finish' to commence creating the VM.
Start installation
To start the Ubuntu installation, select the vm 'ubuntu-desktop-22.04' and 'Start'.
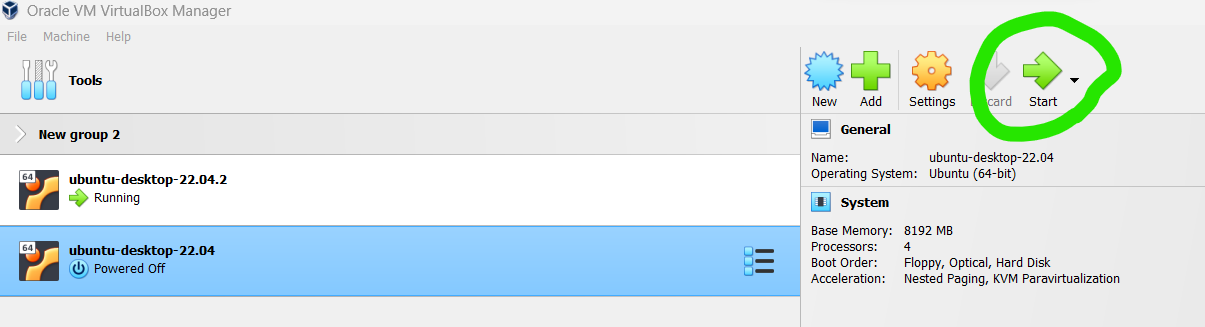
This will power up the VM and trigger Ubuntu's installation process.
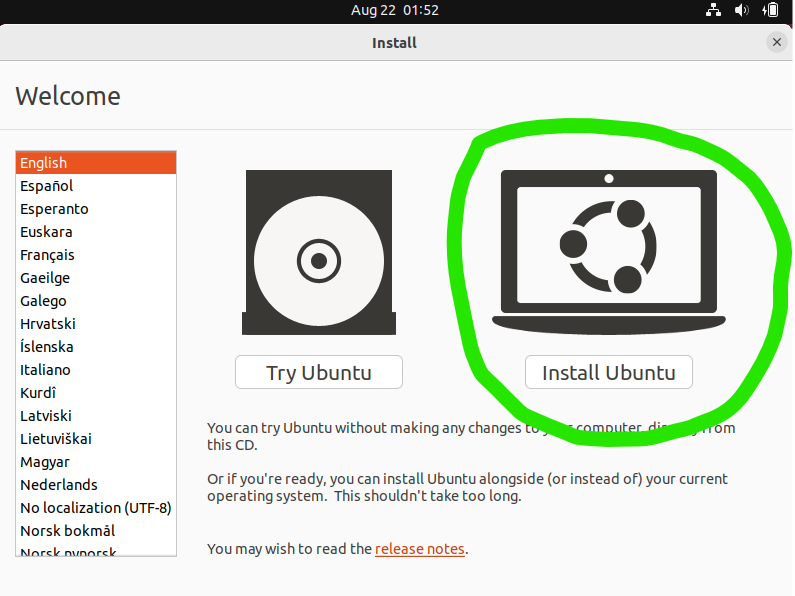
Step 1 - Ubuntu CLI Selection
Select 'Try/Install Ubuntu'
Step 2 - Install
Select Language and Install Ubuntu
Step 3 - Keyboard Layout
Select your desired Keyboard layout, select 'Continue'.
Step 3 - Update and Other Software
| Input | Suggested Value |
|---|---|
| Name | ubuntu-desktop-22.04 (name used through this example) |
| Normal or Minimal Installation | Minimal Installation |
| Download updates will installing Ubuntu | yes |
| Install third party software for graphics and WI-FI hardware and additional media formats | yes (adds closed source drivers and software that can't be included in Ubuntu). You need to understand the consequences of this option for your personal needs. |
Step 4 - Installation Type
Select 'Erase disk and install Ubuntu', click 'Install Now'
Write the changes to disks?. Select 'Continue'
Step 5 - Where are you?
Select your location, click 'Continue'
Step 6 - Who are you?
| Input | Suggested value |
|---|---|
| Your name | dev |
| Your computer's name | devpods |
| Pick a username | dev |
| Choose password | your password |
| Confirm your password | your password |
Select 'Continue'
Install Minikube on Ubuntu 22.04
Install dependencies for installing minikube and vscode
sudo apt update
sudo apt install git vim gpg wget -y
Install VSCODE
Follow instructions from VSCODE Docs > Linux Setup
Install Minikube
Clone Sander van Vugt's Ubuntu CKAD repository for his CKAD course Certified Kubernetes Application Developer (CKAD), 2nd Edition, 4.3 Installing Minikube on Ubuntu. O'Reilly Course
git clone https://github.com/sandervanvugt/ckad.git
cd ./ckad
./minikube-docker-setup.sh
Create startup script
cd ~
touch minikube-start.sh
sudo chmod u+x minikube-start.sh
Add the following contents to minikube-start.sh:
#!/bin/bash

minikube start --vm-driver=docker --cni=calico
Now to start minikube from home:
~./minikube-start.sh
Note: you need to start minikube between vm shutdown/reboots
Test your install
Test your install with the following command
kubectl get all
Example Result:
kubectl get all
NAME                 TYPE        CLUSTER-IP   EXTERNAL-IP   PORT(S)   AGE
service/kubernetes   ClusterIP   xxx.yyy.zzz.qqq    <none>        443/TCP   4d14h
Install Devpods
Using the Devpods install for Linux deb docs
Download the deb install
cd ~/
wget https://github.com/loft-sh/devpod/releases/latest/download/DevPod_linux_amd64.deb?_gl=1*76i3lz*_ga*MTczNjE4NzI1My4xNjkxNDQ1ODU1*_ga_4RQQZ3WGE9*MTY5MjY4MTU4NS45LjAuMTY5MjY4MTU4Ny41OC4wLjA. -O DevPod_linux_amd64.deb
sudo dpkg -i DevPod_linux_amd64.deb
Test the Devpods install
Start Devpods:
dev-pod
Configure Minikube for the provider
Before configuring the kubernetes provider we need to create a persistent volume for the devcontainer and ensure we have a kubeconfig for the provider.
Create Kubernetes Persistent Volume for devcontainers
Kubernetes persistent volume docs
mkdir ~/devpods
cd ~/devpods
touch devpod-pv.yml
vim devpod-pv.yml # or your preferred text editor
Edit devpod-pv.yml and save
kind: PersistentVolume
apiVersion: v1
metadata:
  name: devpod-pv
  labels:
    type: devpod
spec:
  capacity:
    storage: 1Gi
  accessModes:
    - ReadWriteOnce
  hostPath:
    path: "/home/dev/devpods/share"
Create a directory for the persistent volume
mkdir /home/dev/devpods/share
Create the persisent volume for the Kubernetes Provider.
kubectl create -f ~/devpods/devpod-pv.yml
Confirm the persisent volume has been created.
kubectl get pv
NAME                                       CAPACITY   ACCESS MODES   RECLAIM POLICY   STATUS      CLAIM   STORAGECLASS   REASON   AGE
devpod-pv                                  1Gi        RWO            Retain           Available                                   12d
Locate your kubeconfig
List the director ~/.kube
ls ~/.kube
cache  completion.bash.inc  config
Within .minikube the config file is the kubeconfig that can be used by Devpods kubernetes provider.
Within the kubernetes provider the kubeconfig path will be
/home/dev/.kube/config
Note This is a simplification for a production setup where a kubeconfig should be provided for a kubernetes context, namespace and users. You will also need kubectl installed where your Devpods client is running from. The kubernetes provider uses the underlying kubectl providing the locally stored kubeconfig to access a remote cluster. This setup requires kubernetes administration support.
Identify your namespaces
The kubernetes provider requires a namespace and this example will use the 'default' namespace
kubectl get ns
NAME              STATUS   AGE
default           Active   12d
kube-node-lease   Active   12d
kube-public       Active   12d
kube-system       Active   12d
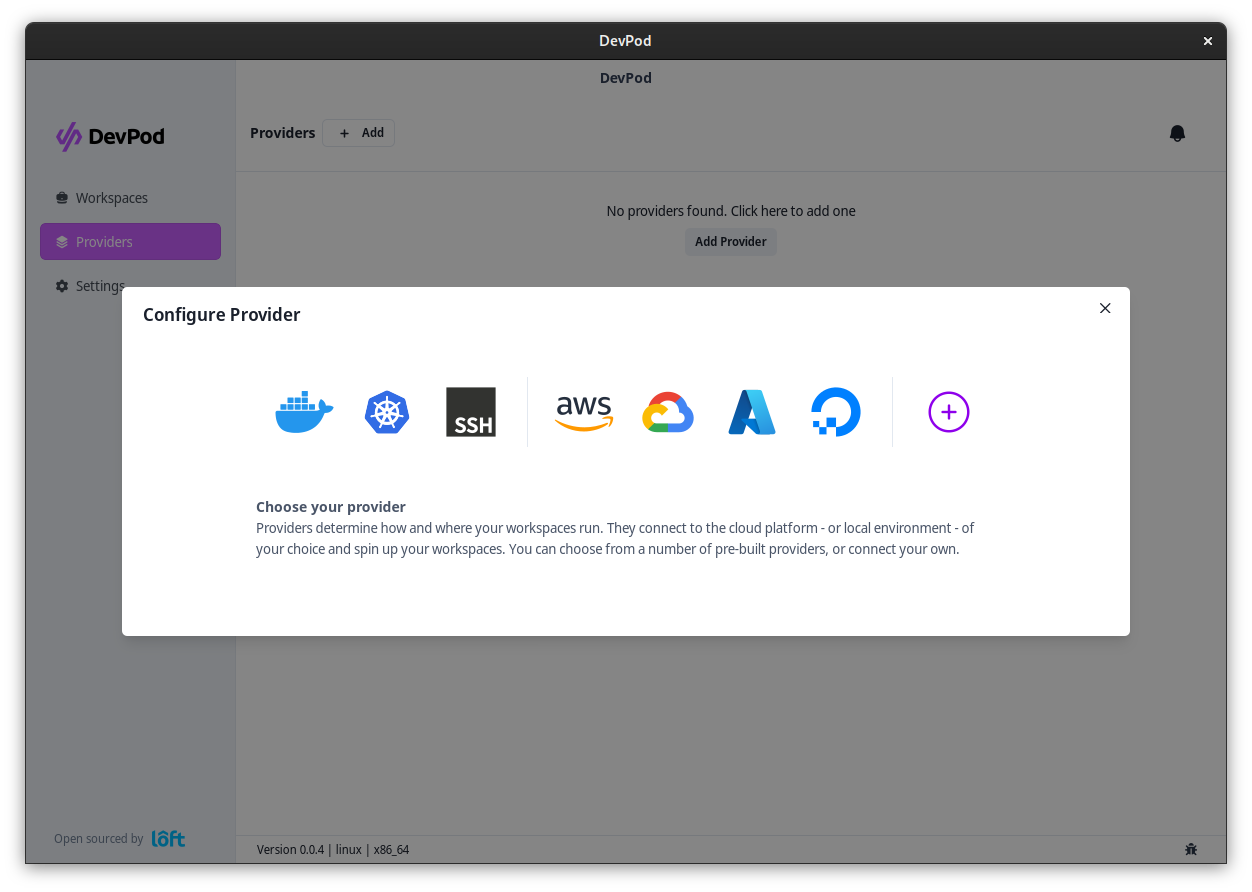
Add Provider
Add a provider via 'Providers' > '+ Add'. Select the kubernetes provider.
Configure the Kubernetes Provider
| Setting | Value |
|---|---|
| Kubernetes Namespace | default |
| Disk Size | 1Gi |
| Kubernetes Config | /home/dev/.kube/config |
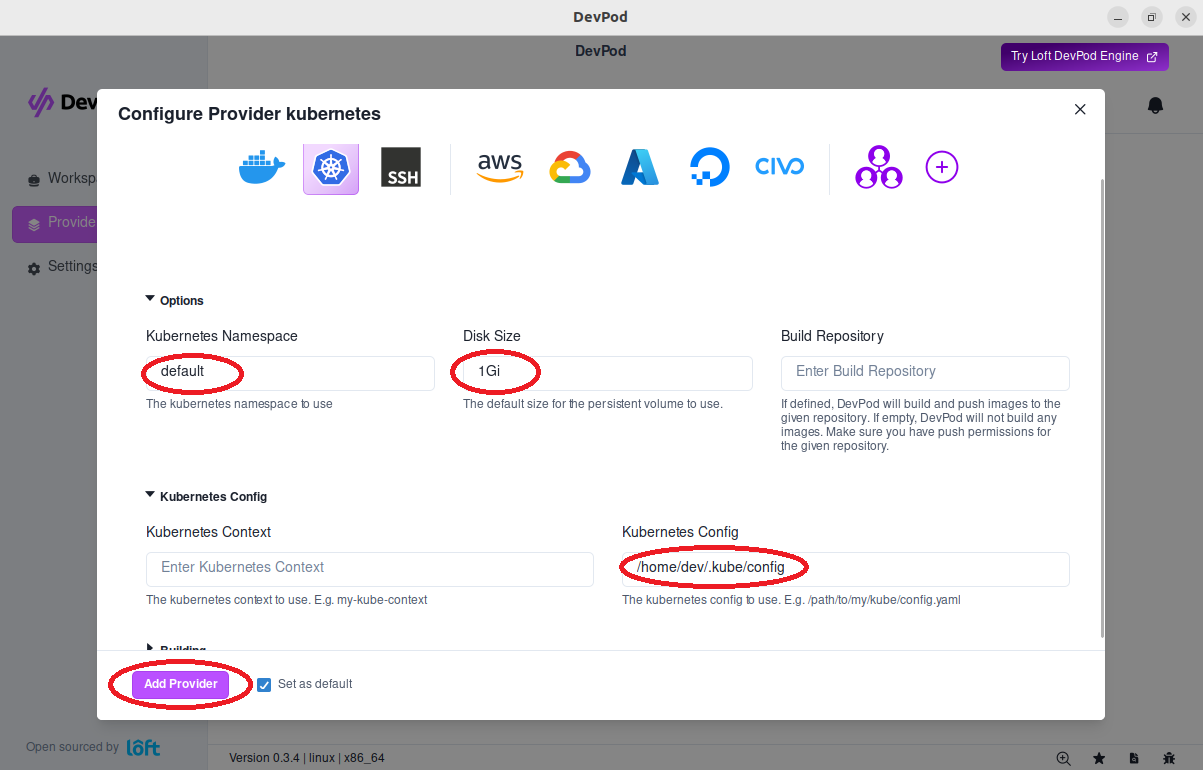
Select Add Provider
Add a Workspace
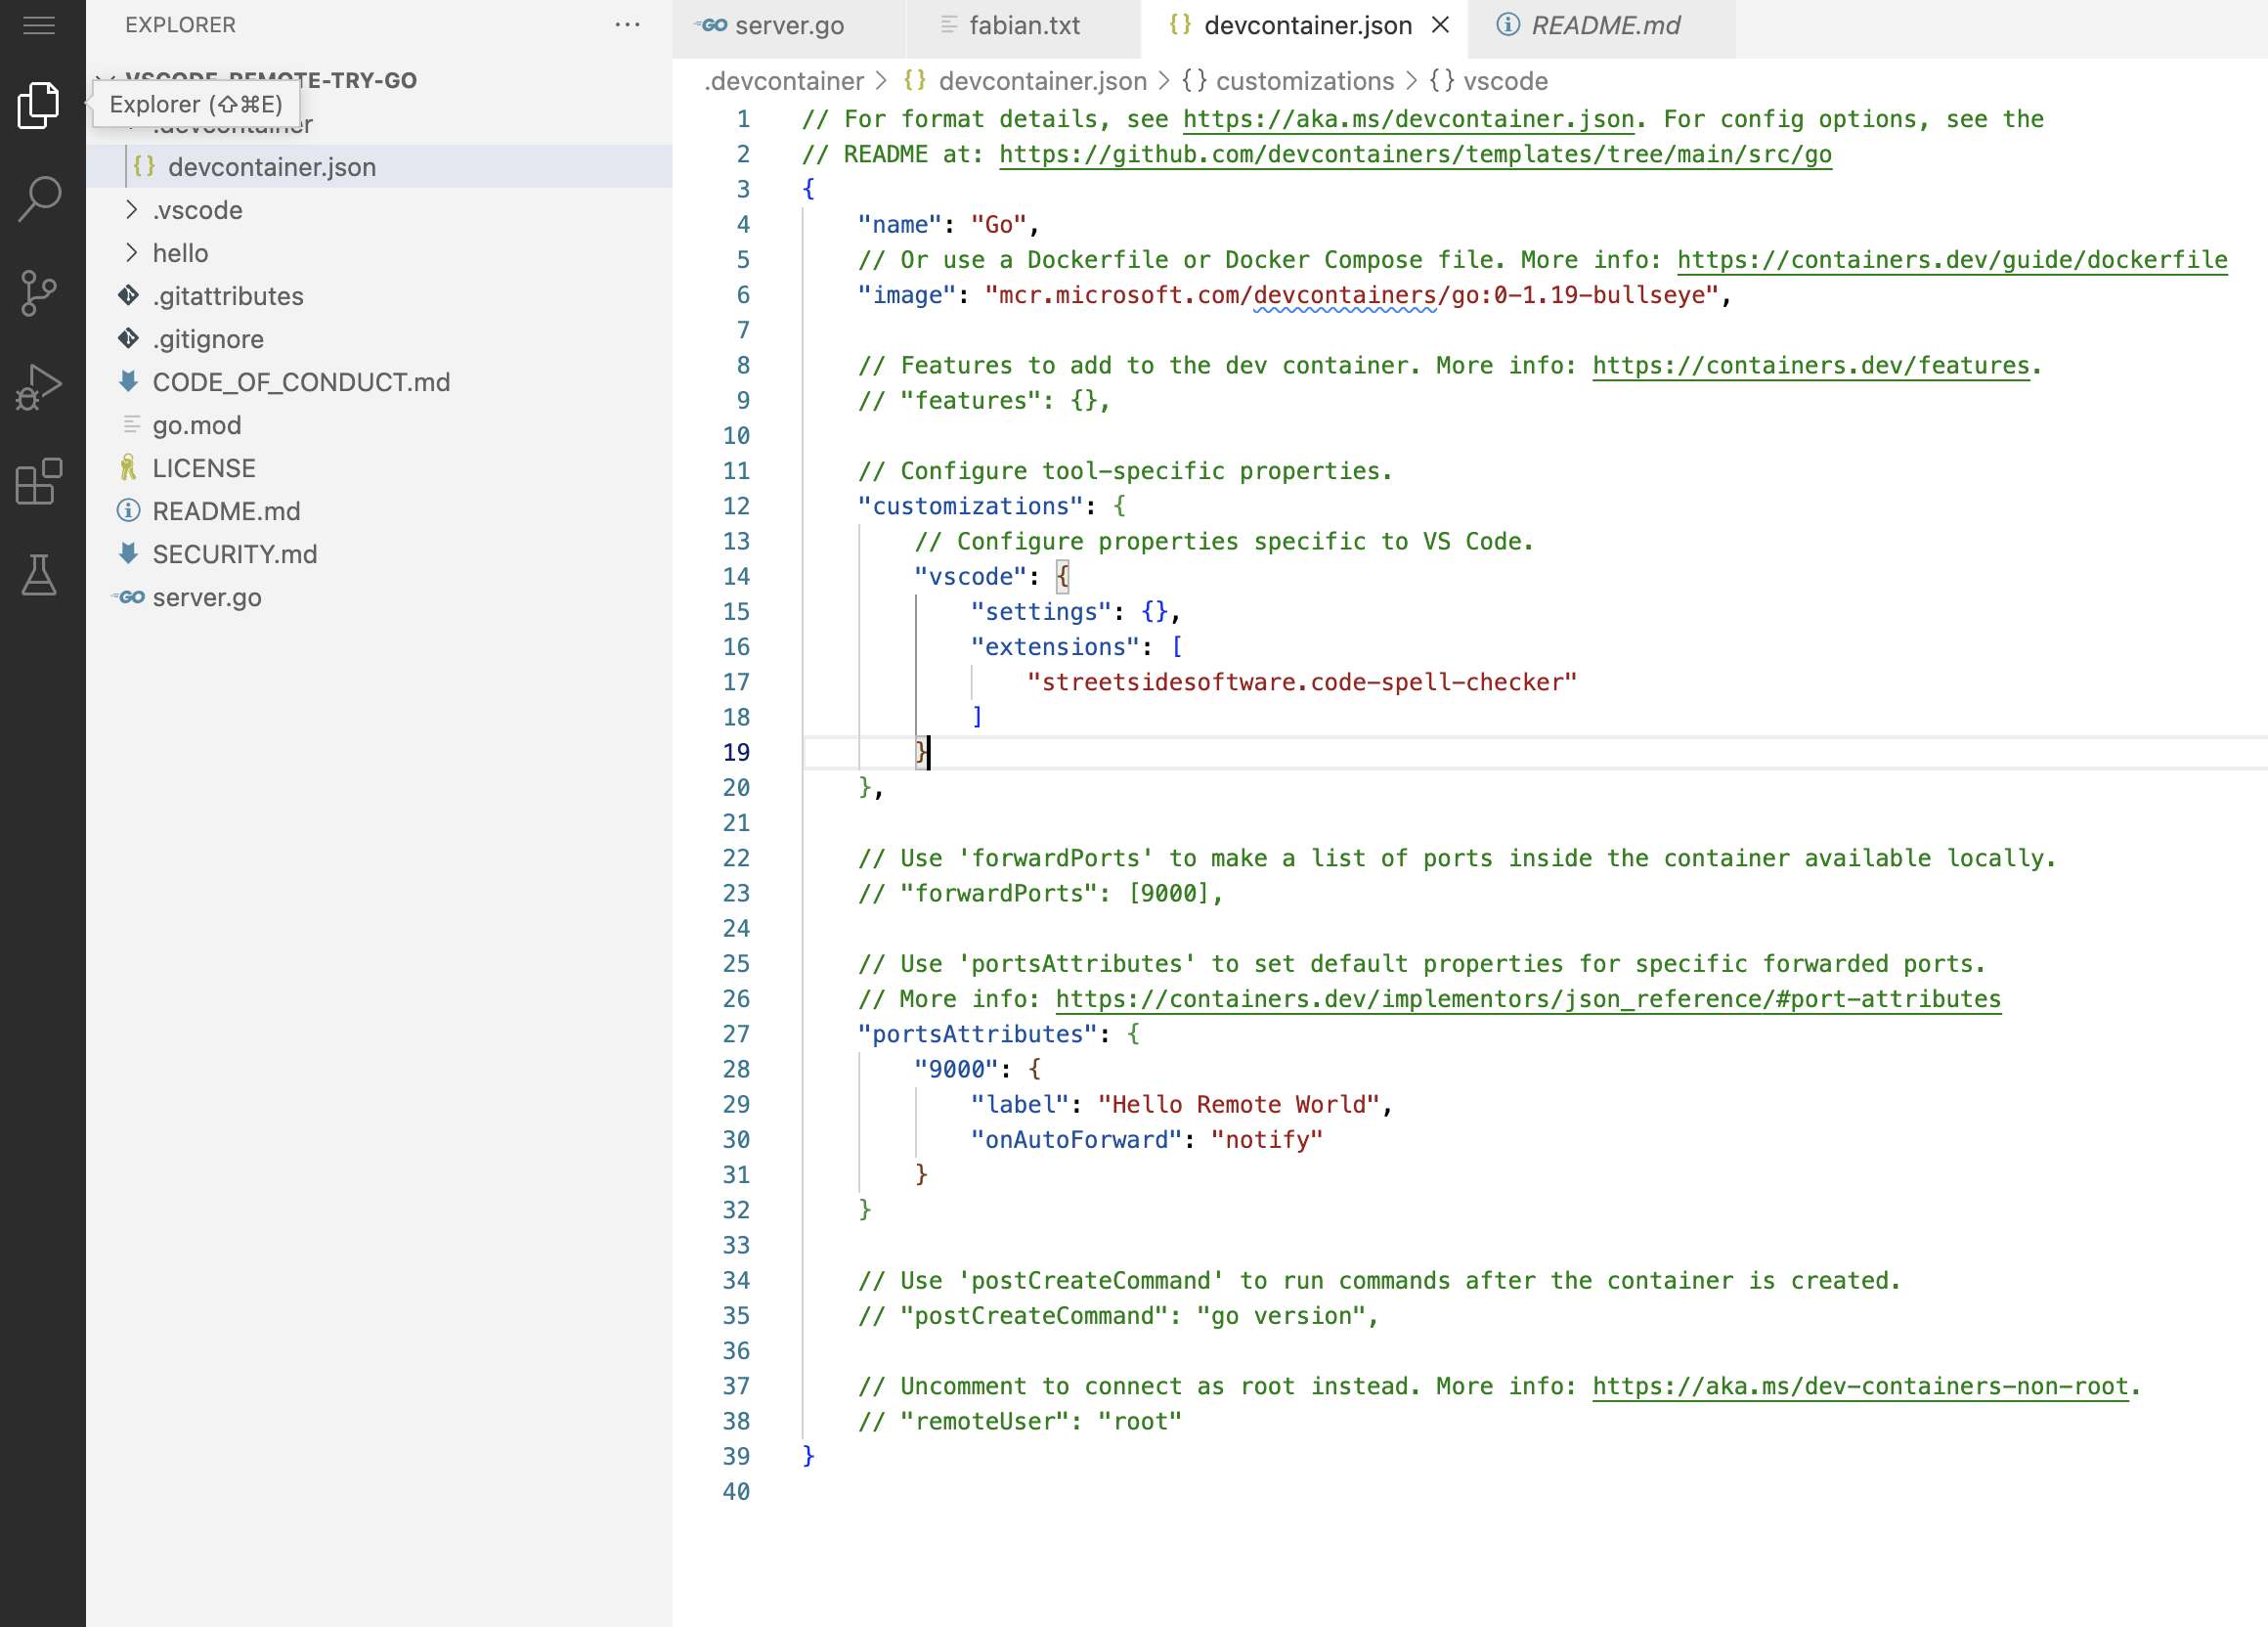
Start a Workspace with VS Code Browser
Navigate to 'Workspaces' > '+ Create'. Enter your project url or choose one of the quickstart examples. Make sure to select 'VS Code Browser' under 'Default IDE'

Then press 'Create Workspace'.
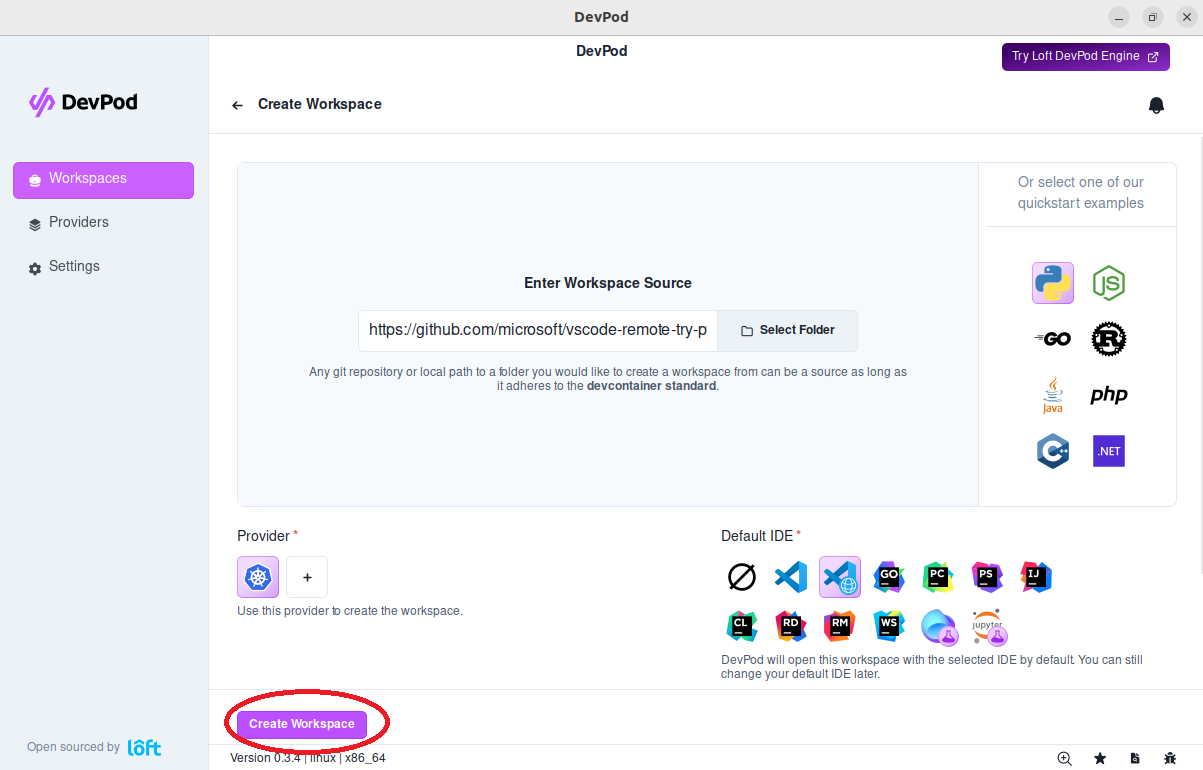
A new window appears showing DevPod starting the workspace. After the workspace was created, VS Code should open automatically connected to the DevContainer.